The Scarab 16 Daysailer trimaran is a variation on the original Scarab 16. The original 16 has a cabin, the mast is mounted on the ring frame that supports the beams. To see the original design
Scarab 16 plans for the Daysailer version will be available soon.
The new design will be available with laminations and dimensions for this boat to be built in foam sandwich Manufacturing the foam sandwich panels or plywood
Stitch and glue construction.
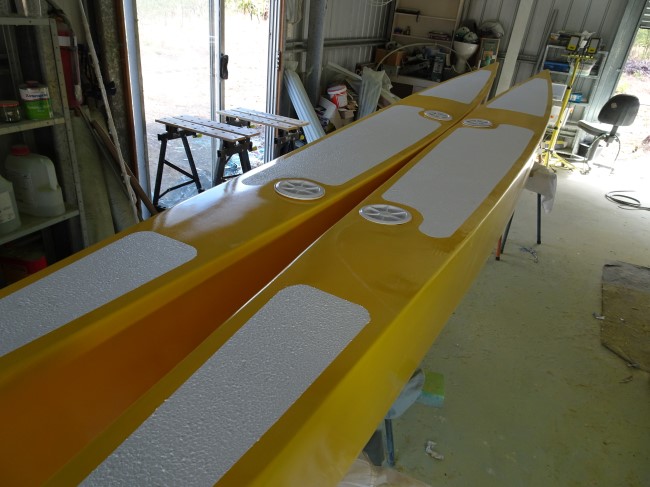
- This new boat is an off the beach trimaran. There is no cabin and the cockpit is much larger. Instead of having 2 centreboards in the floats there is one dagger board in the main hull.
- The folding system is a modified version of the system used on the Scarab 18 or Scarab 650.
- The beams are bolted to the floats instead of being glued into the floats.
- I also rounded off the bilge panels on the main hull and the floats.
Foam panels
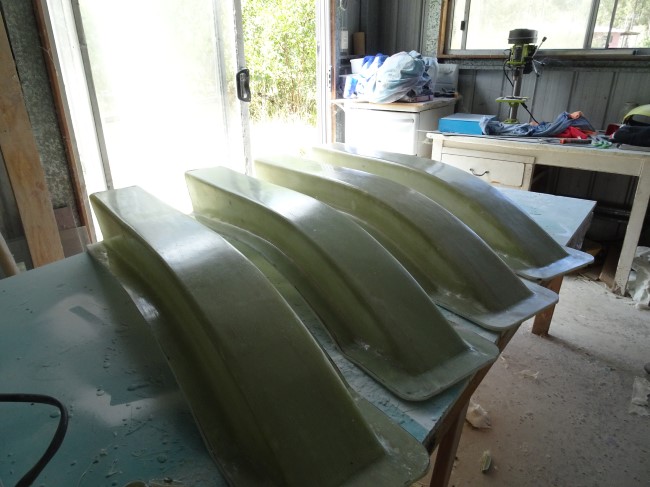
This boat was built using foam sandwich panels. See how to make foam sandwich panels.The Floats
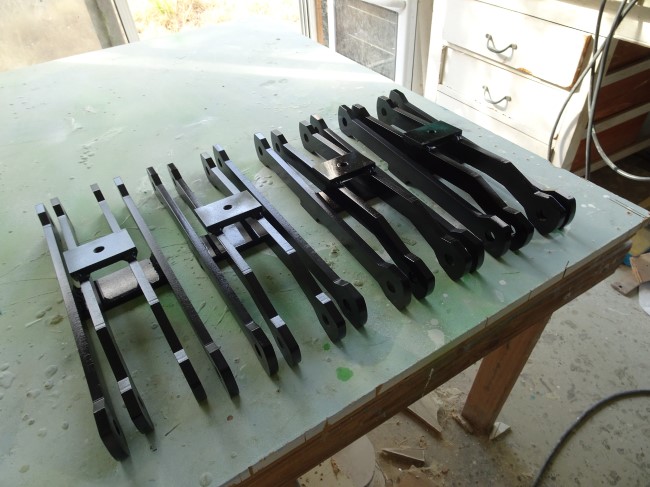
The Beams
See a bit more on building trimaran beams

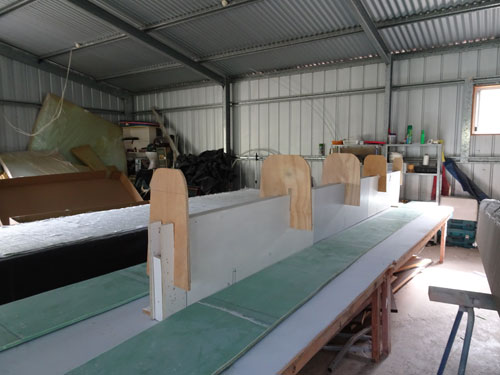
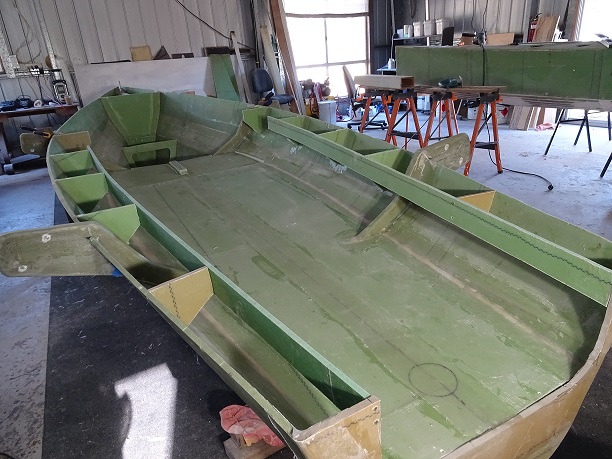
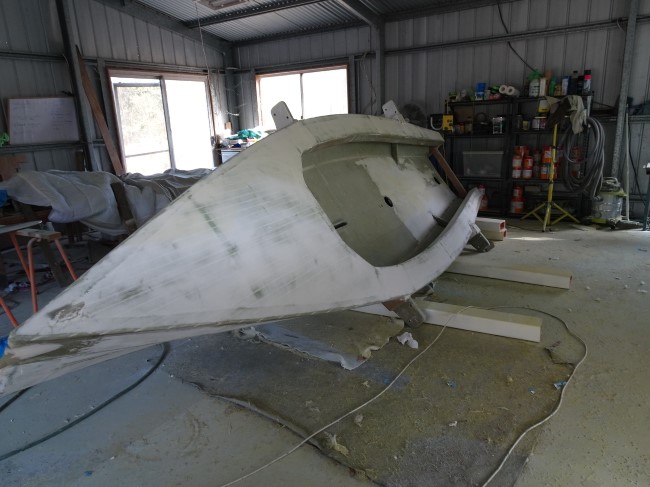
The Main Hull
The building frame was set up the same as the floats. The two longitudinals were the same ones that were used for the floats. The bulkheads were notched and set on two longitudinals. This keeps
the building frame square and it is not necessary to make sure the frame is level. The bulkheads can be used to later cut out the final bulkheads with some adjustment.
The panels that were previously cut out are attached to the building frame. Its a good idea to draw a line around each bulkhead because the final bulkheads will be in the same position.
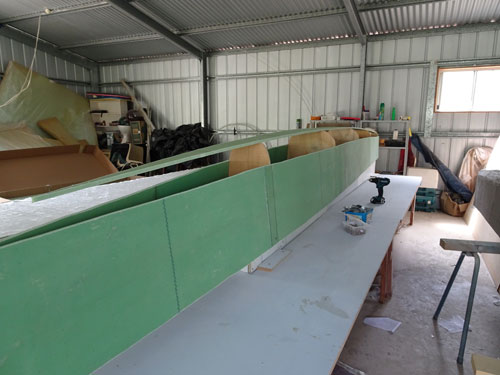
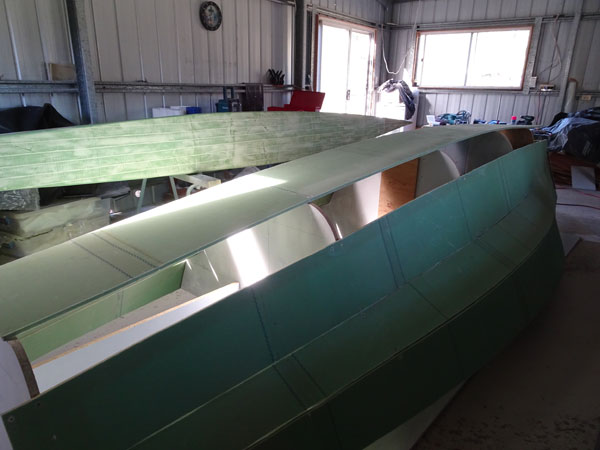
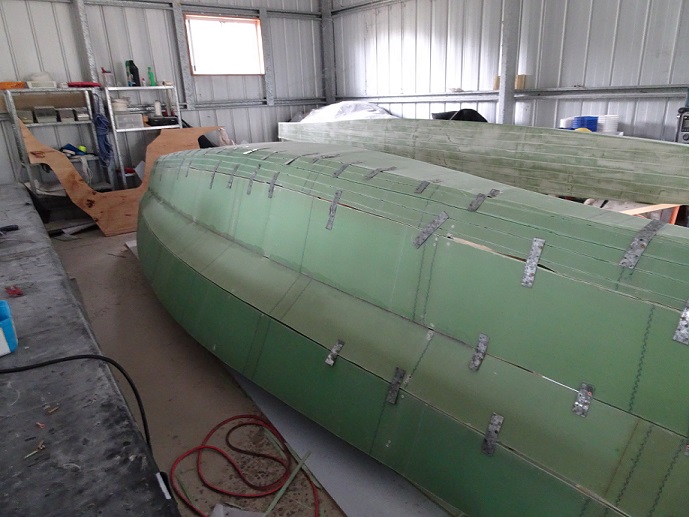
I wanted a rounded bilge. I added the bottom and side panels and then strip planked the area between. The main hull was glassed over the bottom and the bilge panel and the rest of the boat was taped
with fibreglass tape.
After the main hull was glassed on the outside the hull was turned and the bulkheads were added. If you have drawn a line aroung the building frame bulkheads then it is easy to position the bulkheads
in the right place and they should fit exactly. By doing this there is no need to level the hull.
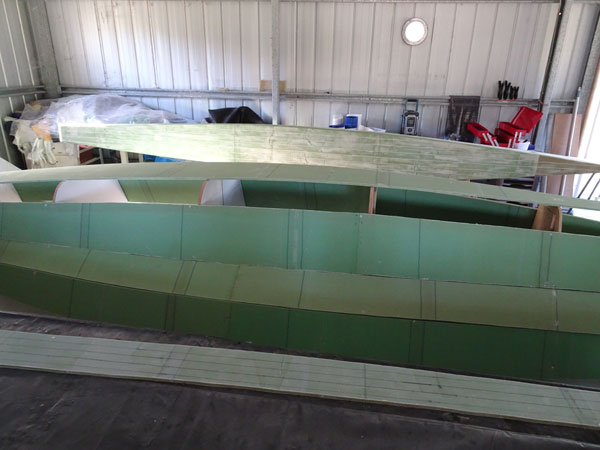
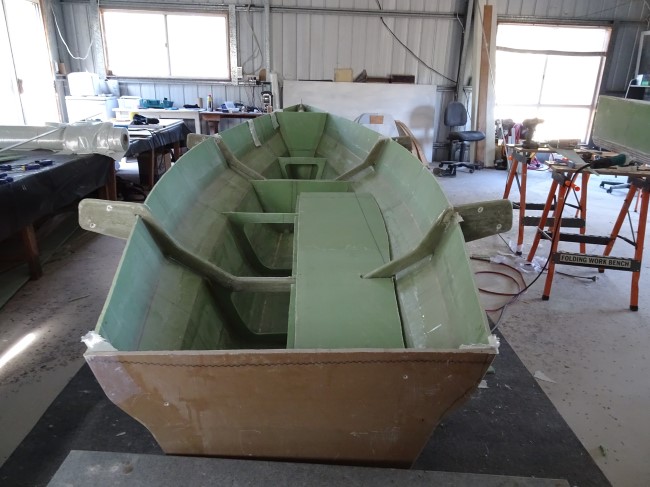
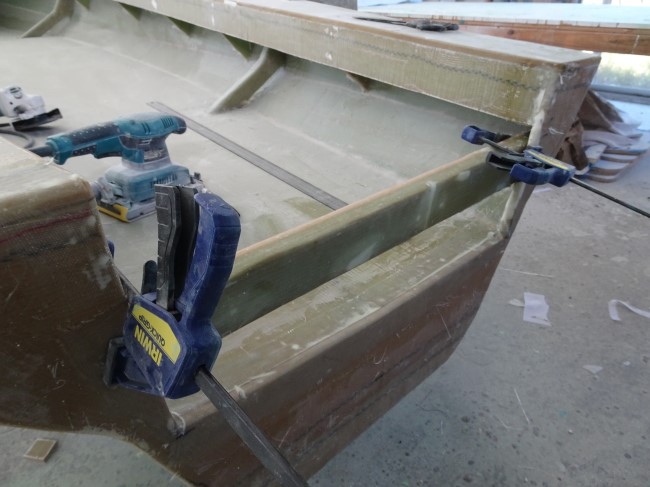
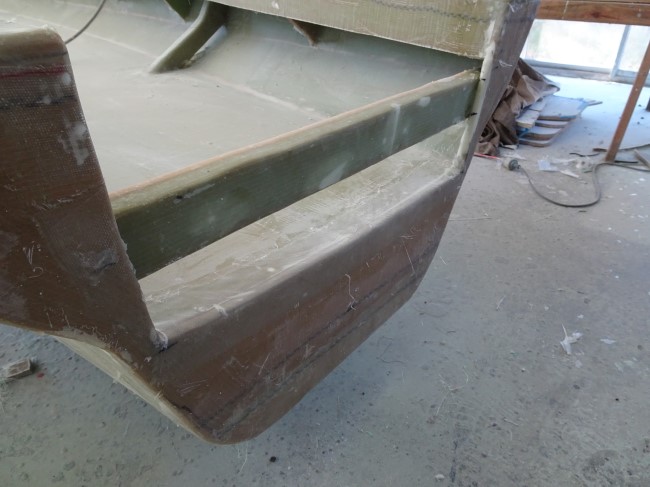
The beam supports were added at station 4 and 8. Small bulkheads were attached under the beam supports.
A full bulkhead was added at station 2 to create a sealed compartment and a place to add the prodder.
A mast support post was attached the forward side of the beam support at station 4 and a centreboard case was attached on the aft side.
The floor was cut to fit.
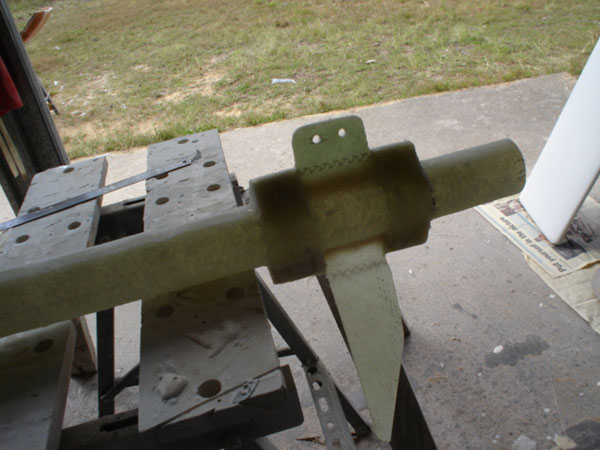
The prodder was built by wrapping glass around a metal tube covered with light cardboard. The nose of the hull was cut to allow for the prodder. The prodder was glued and taped in the nose and attached to
the forward bulkhead.
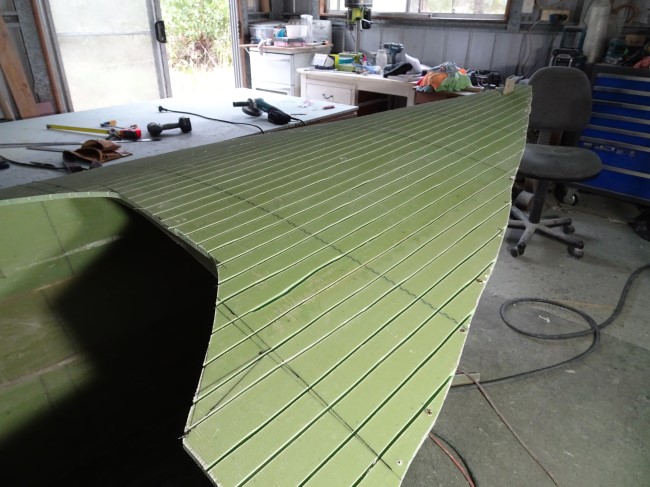

A temporary frame was used to create the camber of the deck. It is difficult to bend foam that has been laminated. So I scored the panel and then it will bend into a fair curve. The score lines were filled with bog. I used Q-cells mixed with resin. The deck is then sanded and glassed over. You could just bend foam over and then glass but I found you won't have the same curve. Trim the deck while it is still on the boat. Remove the deck. I found that a piece of foam glued underneath and covered with glass makes the deck very strong. If you are using plywood it should be easy to bend the plywood over the curve. I primed the deck underneath, making sure to mask any areas where it will need to be taped. It is much harder to paint underneath once the deck is attached.

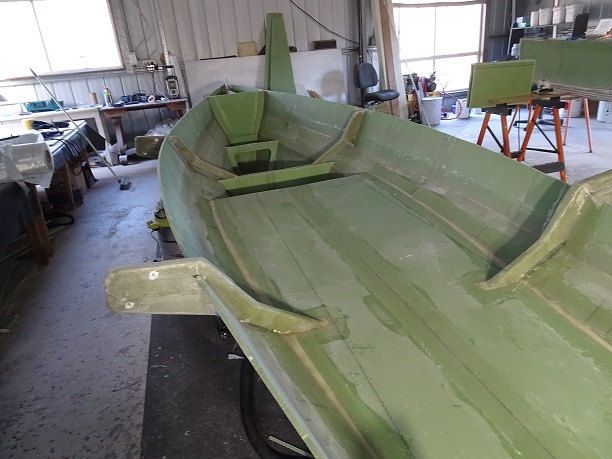
The floor was added and taped in. Deck knees were taped in to support the side deck. Then a coaming was attached to the knees. The side deck and the fore deck were attached the edged faired and taped to the bottom of the hull.
I wanted the transome to be open to allow any water a quick exit. I am using a Hydra catamaran rudder so the bar across the transome will carry the rudder pintle.

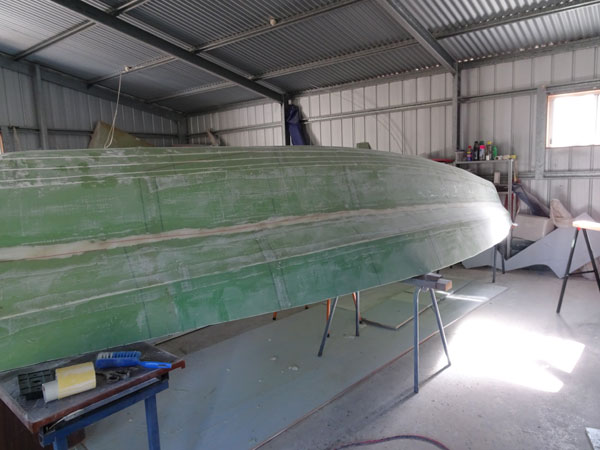
Some foam was added around the beam stubs so they will line up a bit better with the beams. The main hull was rolled over and filled.